I’ve had this router for years and it only gets occasional use but the last time I went to use it the base broke! Having just dropped a bundle on a 3D printer, I didn’t feel like replacing a router.
So…. I modelled it up and it’s too big for my printer! Aaargh.
So, I’ve split it into two halves that can be printed separately and then welded together. It worked surprisingly well. Of course, if you have a big printer skip the pain and just print the whole thing.
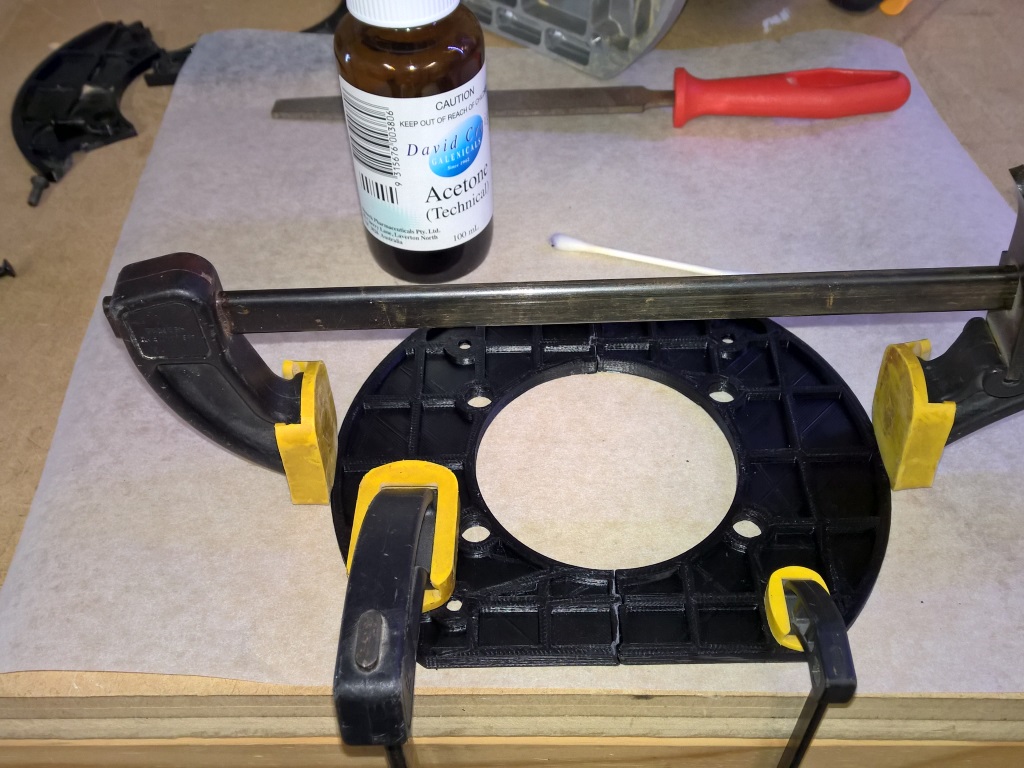
I printed this in ABS with a heavy infill for rigidity. Once printed, I aligned some notches on the bases that just fit inside the other component. The notches work for alignment and so that the base isn’t relying on just the weld for shear strength. Placing the two pieces on a flat surface and using a Q-Tip I applied some acetone to both surfaces to melt the ABS and create the weld. I used a set of clamps to ensure this went smoothly.
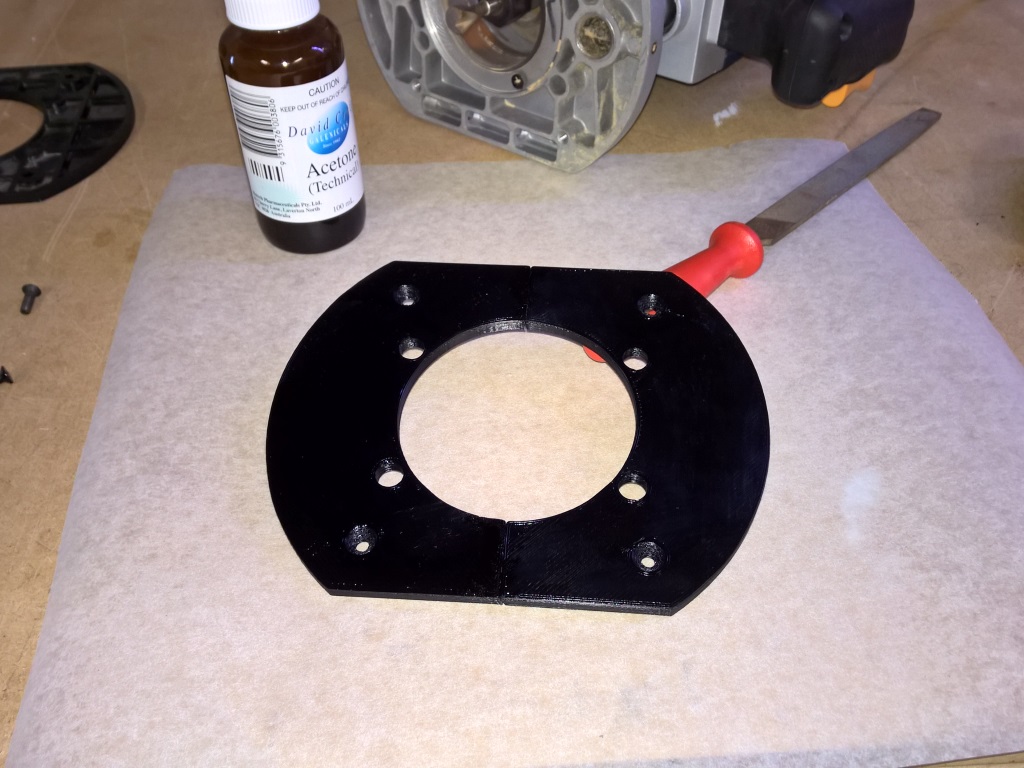
Finally, I wiped down the surface with acetone to give it a smoother finish and to smooth the line at the weld. In the photo you can see this gives it a glossy finish.
Files and details are available at https://www.thingiverse.com/thing:970377